Let Chef Geoffrey Zakarian Help You Celebrate Your Birthday
Forget the cake. All you need is a charcuterie board and poached pears. And wine, too, of course.
Feb 26, 2022
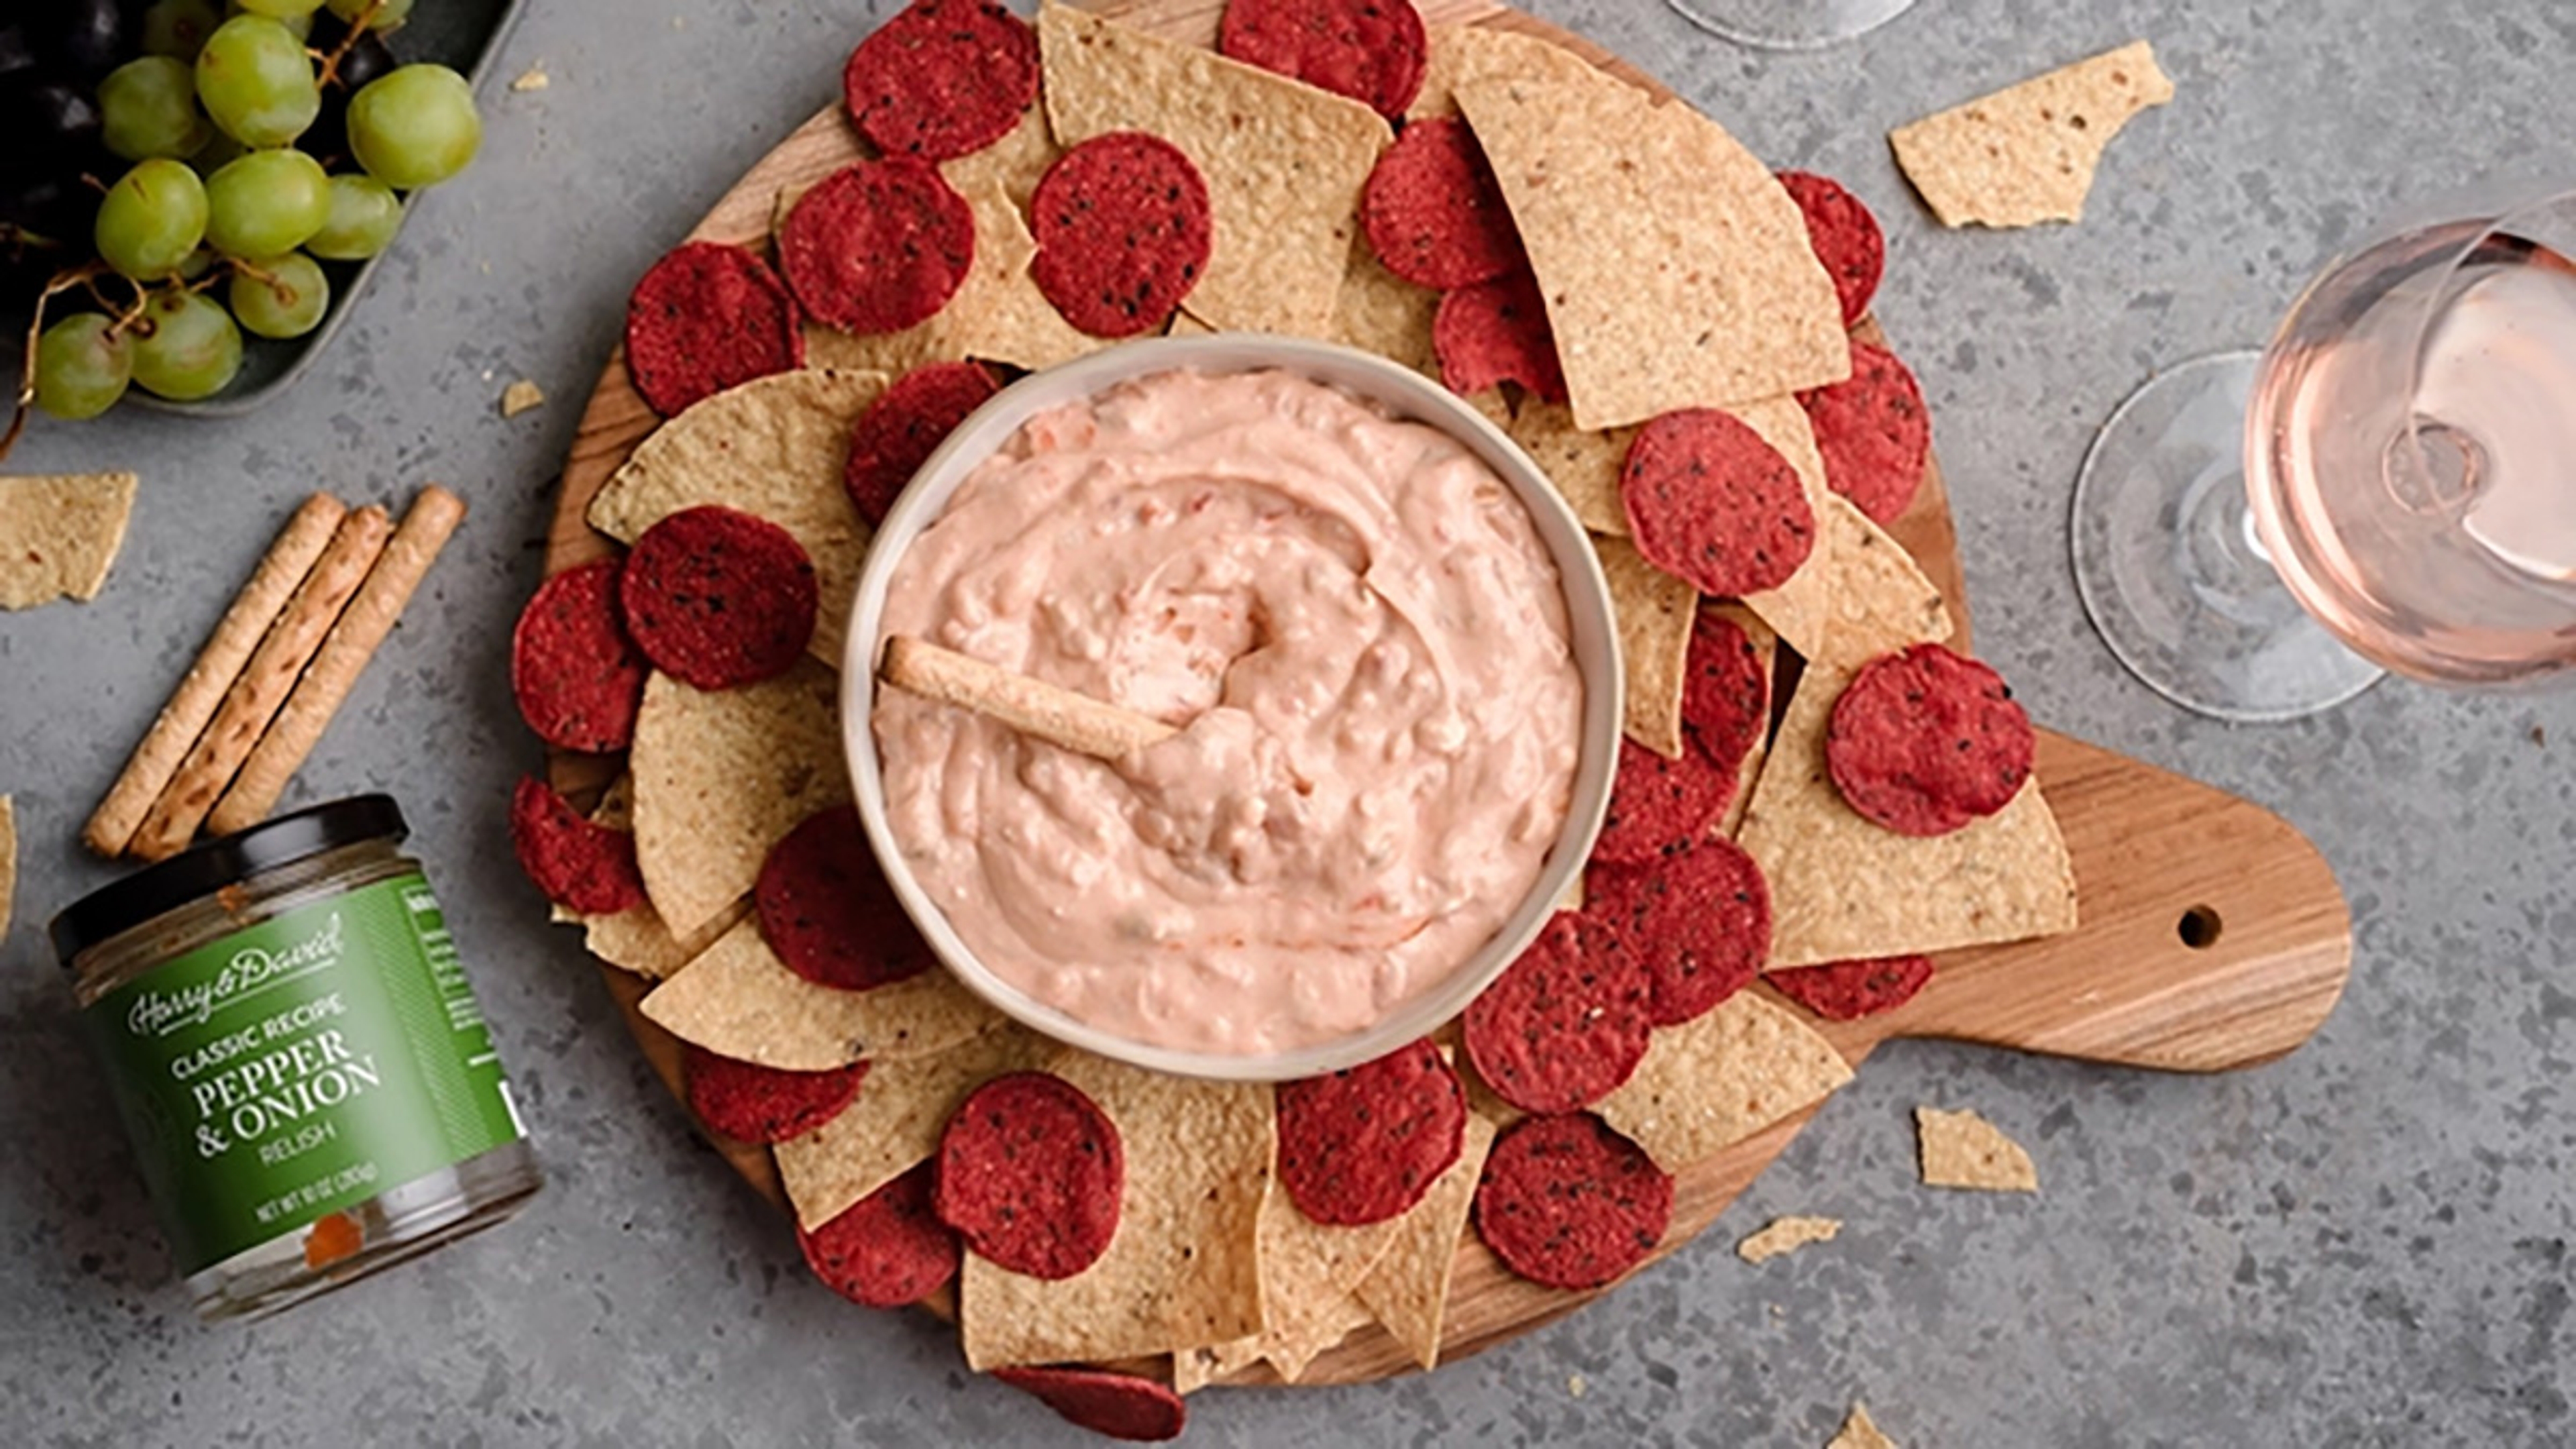
You might think chef Geoffrey Zakarian is talking about the fundamentals of making a fantastic-looking birthday cake when he says, "You want to build color, texture, and height." But instead, the award-winning restaurateur is referring to a birthday charcuterie board that will make a lasting impression on your guests — and the guest of honor.
"The thing about building this, says Zakarian, Harry & David's chief culinary ambassador, "is if you're coming into the house or into the kitchen, you should see it as you enter."
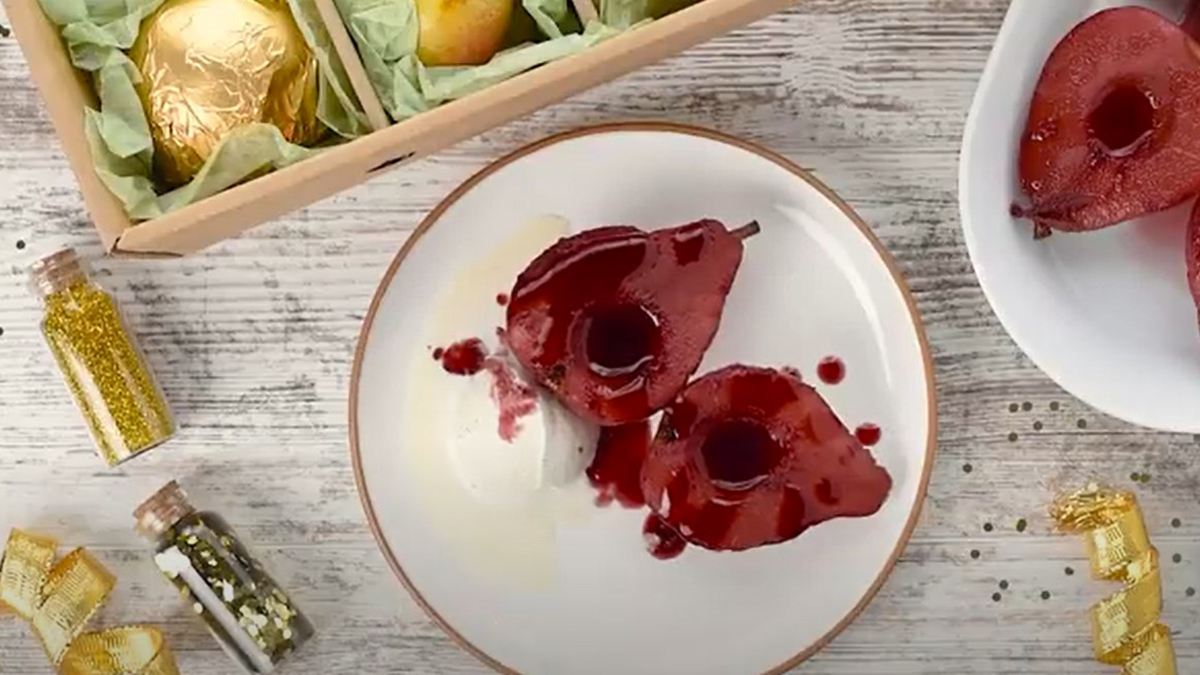
With six easy steps, Zakarian takes the beauty and range of flavors on his ultimate charcuterie and cheese board to even greater heights by offering it with gorgeous cinnamon and red wine poached Harry & David premium pears.
Step #1: Use a variety of serving vessels
When he begins building a board, Zakarian says, "I grab ramekins and (small) platters — some are white, some are bold-colored — or I might even keep some of the items in their containers." Think variety and varying levels, especially height.
For some jams and spreads, such as the fig jam, there's "no need to embellish," he says. "Leave it in the jar and add a spoon for serving."
Since most cheese and charcuterie come pre-packaged, have some fun in arranging them on a variety of mix-and-match vessels.
Step #2: Don't overcrowd
Zakarian likens creating a charcuterie and cheese board to framing a work of art: You need to leave some space around it when you hang it. For instance, he likes to have the cheese in the corners with a few pieces broken off and a knife close by. This way, people will take the hint that they can help themselves. As guests nibble away, you can replenish items.
"It's a big mistake when there's too much on the board," he says. "You want it to look full, not crowded."
Step # 3: Include a range of savory, sweet, sour, and salty
Rich, creamy cheese and salty, cured meat, such as salami and Serrano cured ham, which Zakarian calls "the greatest thing ever," are a natural pairing.
However, incorporating a full range of flavor profiles is also satisfying. Offer the sweetness of dried fruits, such as potassium-rich apricots. "They're so good for you!" he says. And include savory bite-sized peppers — "The smell of charred pepper is fantastic" — as are sour pickles or cornichons. Or try a Middle Eastern addition, such as stuffed dolmas — grape leaves stuffed with rice, herbs, and spices — that Armenian-American Zakarian says he grew up eating.
"You want to make sure you have everything for everybody," he offers. "And I love nuts, so I put those out too."
Step #4: Let colors pop
"I like to put anything red — such as bite-sized Divina peppers — in the middle of the platter. "It attracts your eye, and it's a nice centerpiece," he explains.
Step # 5: When slicing salami…
Make sure the first piece you slice goes to yourself! Then, Zakarian advises cutting a portion of the log as thin as possible and keeping the slices in order, accordion-style, in front of the reserved remainder of the log.
And when it comes to presentation, he likes to put salami "in a separate little world on the board." Choose a mini plate or mini wooden platter to showcase it. For specialty salami, such as Olli Salumeria Tartufo black truffle salami, "You can see that gorgeous black fleck of real black truffles," Zakarian points out.
Step #6 Bring it home with crunch
Crackers, breadsticks, or baguette crisps are vital. "You need crunch to capture the cheese and the pepper," Zakarian offers. And it's a beautiful contrast to a silky, cured meat such as Serrano ham, or prosciutto as well.
Now that your charcuterie board is built, Zakarian says there's one more step to take before unveiling your creation. "As your guests arrive, present them with a drink — a very cold glass of rosé or chardonnay is perfect!"

- 2 cups Merlot red wine
- 12 cup sugar
- 1 vanilla bean
- 2 tablespoons orange peels
- 1 cinnamon stick
- 3 Harry & David Royal Riviera Pears
- Vanilla ice cream (for serving)
In a Dutch oven combine wine, sugar, vanilla bean, orange peels and cinnamon stick. Bring it to a rolling boil and reduce the flame to low.
Meanwhile, peel the pear skin and cut them lengthwise. Scope the core out with a help of a melon scooper or teaspoon.
Gently add the pears to the poaching liquid and let it simmer for 15-20 minutes. Turn the pears for every 5 minutes with the help of a spatula to get an even color on the pears.
Once done, remove the pear halves out and allow the poaching liquid to simmer for 20 minutes until it reaches syrupy consistency.
To serve, arrange the pear halves on a plate along with a scoop of ice cream and drizzle the red wine syrup on top. Enjoy.
.svg?q=70&width=384&auto=webp)


